How To Plan Your Next Vacation with Google Trip Planner
By Emma Martin | Published on 31 Aug 2022
Most of us use Google so often that life without it would be hard. From looking up information to keeping track of documents, we use Google for everything because it is user-friendly and accessible.
Google has Google Flights for air travel, so it makes sense to have Google Trip Planner for road trips.
In this post we’ll explain how to use Google Trip Planner for your next trip. Here we go!
What is great about Google Trip Planner
Google Trip Planner, a feature of Google Maps, helps travellers to plan their vacations by keeping everything in one place. Google Trip Planner has many useful features that streamline your holiday plans. It allows you to allocate your time so that you can take full advantage of your holidays.
What’s more, you can share your map across devices and other users. This is perfect if you’re travelling as a group.
Additionally, if you want to give a fellow traveller some inspiration, then Google Trip Planner also allows you to share your maps. If you like the structure of a planned tour like those offered by Expedia, but would rather do the planning yourself, then Google Trip Planner is often a cheaper and more customizable alternative.
How to plan a trip using Google Trip Planner
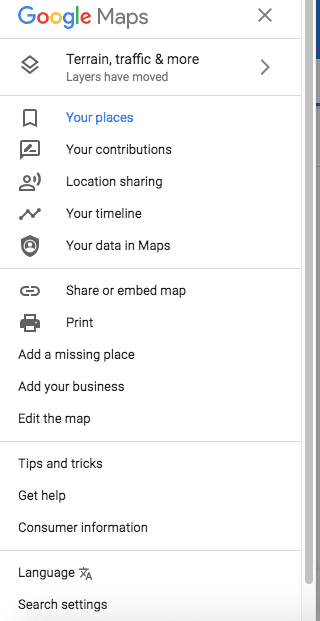
Begin by signing into your Google account and navigating to the Google Maps homepage. From the menu, click ‘Your places’, then choose ‘Maps’ on the right-hand side.
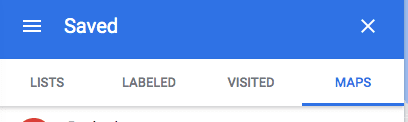
This will list previous maps, as well as maps that have been shared with you. To make a new map, click ‘Create Map’ at the bottom of the screen. This will open up a brand-new window, displaying the familiar Google Maps grid.
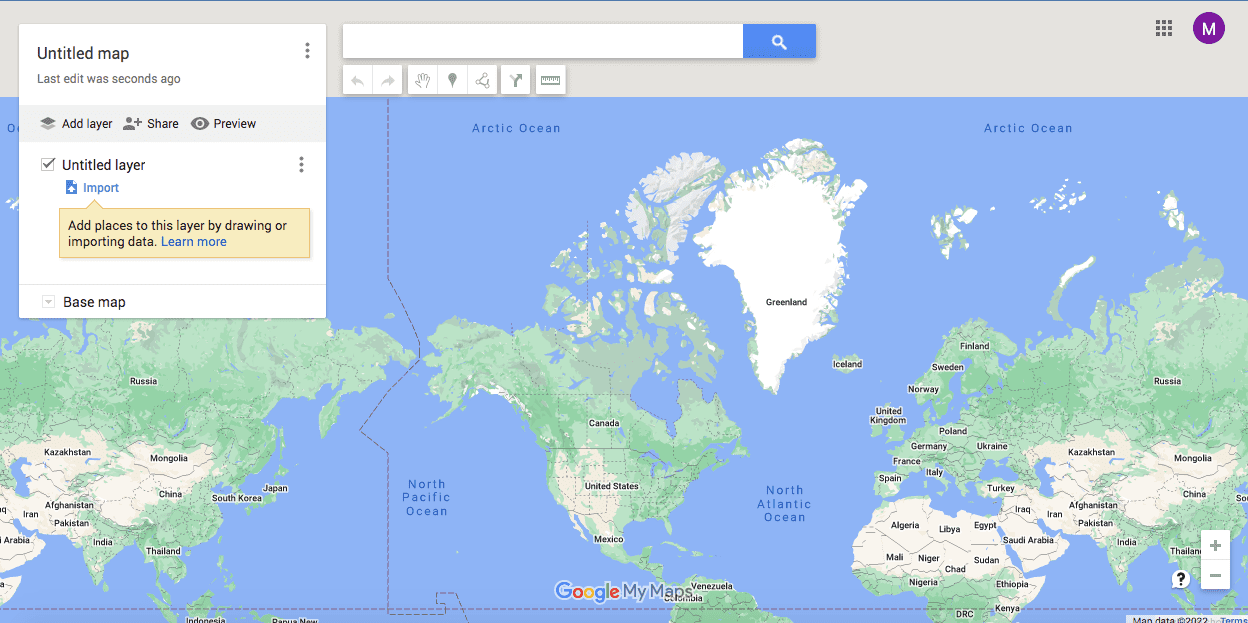
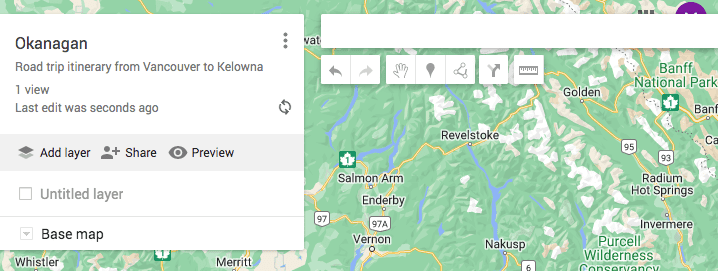
Click ‘untitled map’ in the pop-up box to the left of the screen to give your map a name and a short description. Google Trip Planner uses a layering system. You will notice that the first layer is automatically added when you create your map.
To name your first layer, click the three dots to the right of the text and select ‘rename this layer’. Click ‘save’ and your new map will automatically be saved to your Google Drive.
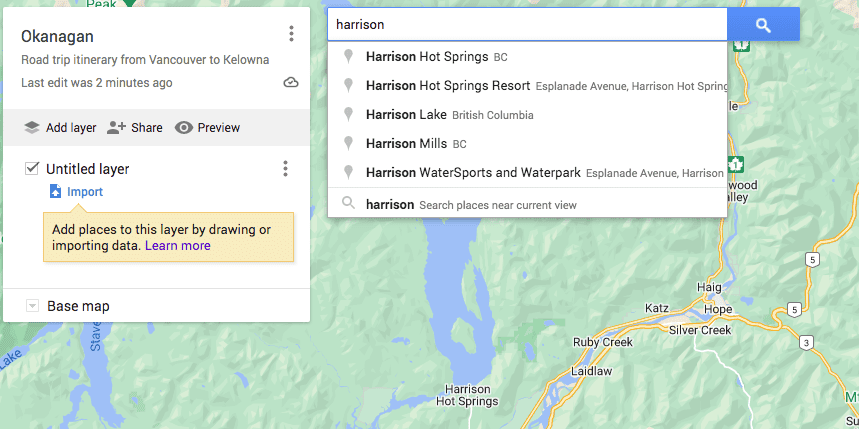
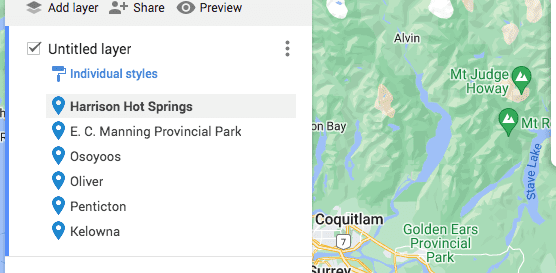
Now you’re ready to add locations. Type a location into the search bar and choose it from the drop-down menu. Once chosen, the location will be listed in the pop-up box under your first layer. Google Trip Planner will automatically zoom into the location.
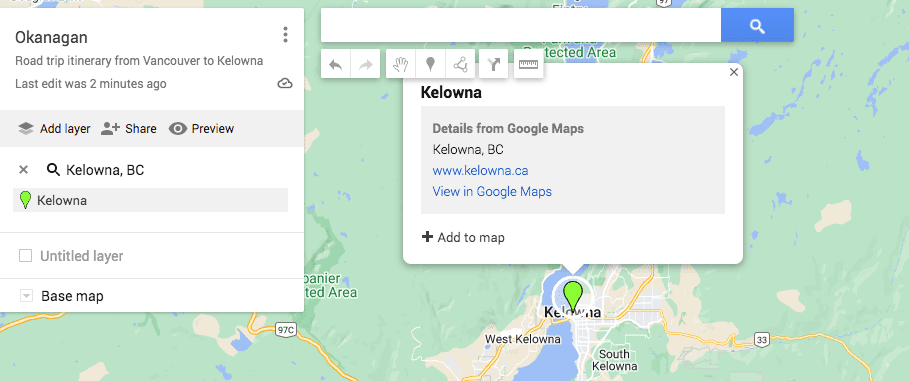
To pin the location to your map, click the ‘add to map’ option in the pop-up box. You can also click the little plus sign next to the location name.
If you’re trying to find a more remote location like a campsite, you can search for it by entering the coordinates. If you don’t have those but know the approximate location, click the tear-drop shaped ‘add marker’ icon underneath the search bar and click on the map to pin a general location.
When you use Google Trip Planner to plan your vacation, you can use the pins to keep track of the places you want to visit. Having a visual representation of things like tourist attractions, waterfalls, hikes, restaurants and museums can be incredibly useful.
Because of this, you have a rough idea of how far apart things are from each other. This allows you to cluster activities depending on their location.
You can also add notes to your pins. Notes are useful if you’ve done a bit of research. They can help to remind yourself of peak hours or what to bring.
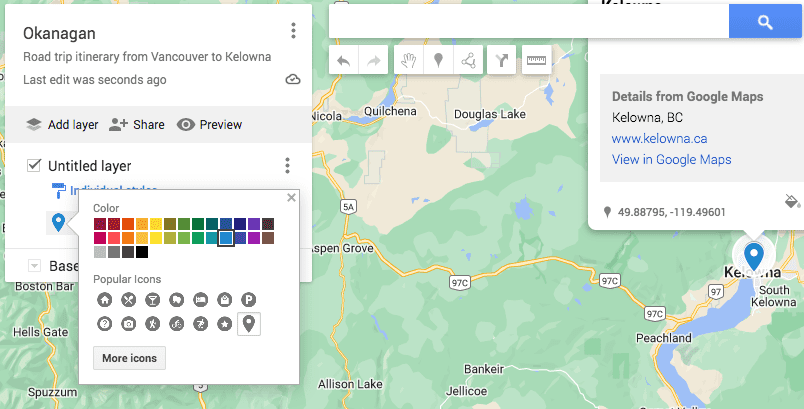
You can also colour coordinate your pins and keep your locations organized. For example, you can make all your hikes green, use red pins for restaurants, and mark museums with yellow pins.
Layers
Google Trip Planner’s layering system can help you organize various locations in your itinerary. You can add up to 10 layers per map.
One way you can use layers to stay organized would be to dedicate one layer per day of travel. However, this will only work if you plan on spending 10 days or less in any given destination. This is not ideal for lengthy trips because you need to create a different map for every tenth day of travelling.
Another way would be to categorize your locations. For example, you could allocate one layer for restaurants, another layer for museums, and another for hikes.
You can combine the layering system with customizable pins to keep your map even more organized. For example, each day of your trip could have its own layer and its own allocated pin colour.
Google Trip Planner has quite a few handy tools to help you keep your trip organized. However you choose to use them to create your itinerary is up to you.
To add a layer, choose ‘add layer’ from the map description box and give the layer a name. To see the data in a specific layer, click the three dots next to the layer’s name and choose ‘open data table’ from the layer options. This will show you the name and description of everything included in that layer.
You can choose which layer to display by checking or unchecking the box next to the layer. To move a pin from one layer to another, select the pin from the list and drag it underneath the appropriate layer. You cannot move pins into a new layer on the map.
Add directions
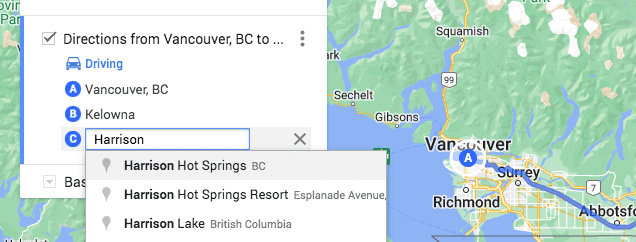
Obviously, Google Trip Planner’s most useful feature is its ability to provide driving directions. Easily add directions to your map by clicking ‘add directions’, the ‘Y’ shaped icon underneath the search bar. Note that adding directions will automatically prompt Google Trip Planner to add a new layer to your map.

Adding directions in Google Trip Planner works exactly the same way as it does in Google Maps. Simply enter your starting point (A) and your destination (B) and select your mode of transportation.
You can add up to 10 destinations, or stops, to your trip. The simplest way would be to add them in the order you will visit them. You can always reorder them by dragging and dropping them if you make a mistake or if plans change.
Google Trip Planner will show you the most direct route, but if you want to take a detour or a more scenic route, you can alter your route by clicking on the blue highlighted route and dragging any of the white points.
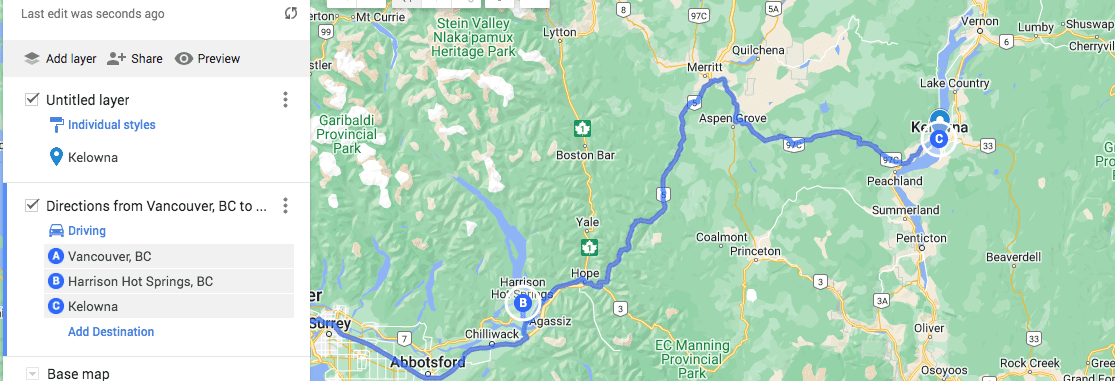
Click the three dots to the right of the directions layer to display the written step-by-step directions.
Using Google Trip Planner to add directions to your itinerary will help you calculate the kilometres between destinations, which is useful when planning drive time and your gas budget.
Using your map across all your devices
To access your map from your smartphone, laptop or tablet, open the Google Maps app and click ‘your places’, then choose ‘maps’.
Unfortunately, Google Trip Planner isn’t accessible offline, so you won’t be able to use your map without a wi-fi connection or data. However, you can save some areas and make them available offline through Google Maps.
With some foresight, you’ll be able to access your map and get directions offline if you need them. However, it’s important to note that this won’t work in every country or even in every city, so be sure to find out ahead of time.
Also, using Google Maps offline will only work for driving directions, not transit or walking directions, and you won’t be able to access lane guidance, updated traffic information or look for alternate routes while you’re offline.
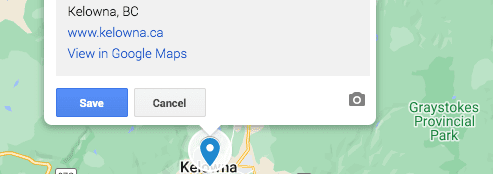
To get driving directions to a specific pin on your map, click on the location on your map, not from the list. Clicking on your pin will prompt a new box to open and you will see the option to open in Google Maps. This will open the Google Maps app and provide directions. You just need to select your mode of transportation.
Sharing your map
Google Trip Planner can be easily shared with anyone who has a Google account. This is great if you’re a travel blogger, are travelling as part of a group or want to share an itinerary with someone travelling to the same destination.
Your map will be saved until you delete it, so once it’s created, it is available indefinitely. Not only does this make sharing your map easier, but having a saved itinerary will help you in the event you need to make a travel insurance claim, as they can sometimes take months to sort out and your memory can fade.
To share your map with travel mates, click the share icon located in the left panel. Be sure to allow link sharing. You can then share the URL to your map with specific people. Save changes or click ‘done’.
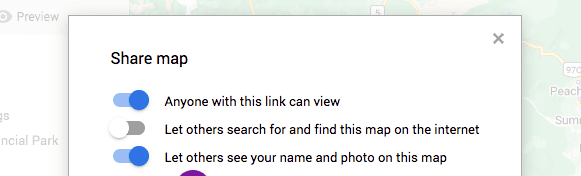
Alternatively, you can make your map public, meaning that anyone can find and use your map. This is especially useful if you have a travel website or blog.
To add your map to a website, make sure that the map is made public. After clicking the ‘share’ icon, click ‘embed on my site’. Google Trip Planner will prompt you from here, all you need to do is follow the instructions provided.

If you want to take credit for a map that you created, click ‘quick settings’ and toggle ‘show owners name and picture on shared map’ on or off.
Why fly when you can drive?
A lot of people don’t like to fly. They are afraid or they aren’t healthy enough to do it. Also, driving is more inclusive for budgets, too. Gas emissions from cars are less impactful than jet fuel, plus electric cars are an option.
Travel is fun, and flights are a small part of it. Even if you have travel affinity cards like Scotiabank Passport Visa Infinite, you earn points when you eat, fill-up, or stay at a hotel while on the road.